iOS Setup
Once you've completed the Rust setup you should be able to run cargo run --bin ios. This will create a new folder called MoproiOSBindings. Inside this folder there should be a file named mopro.swift and a folder named MoproBindings.xcframework.
Demo video of this tutorial
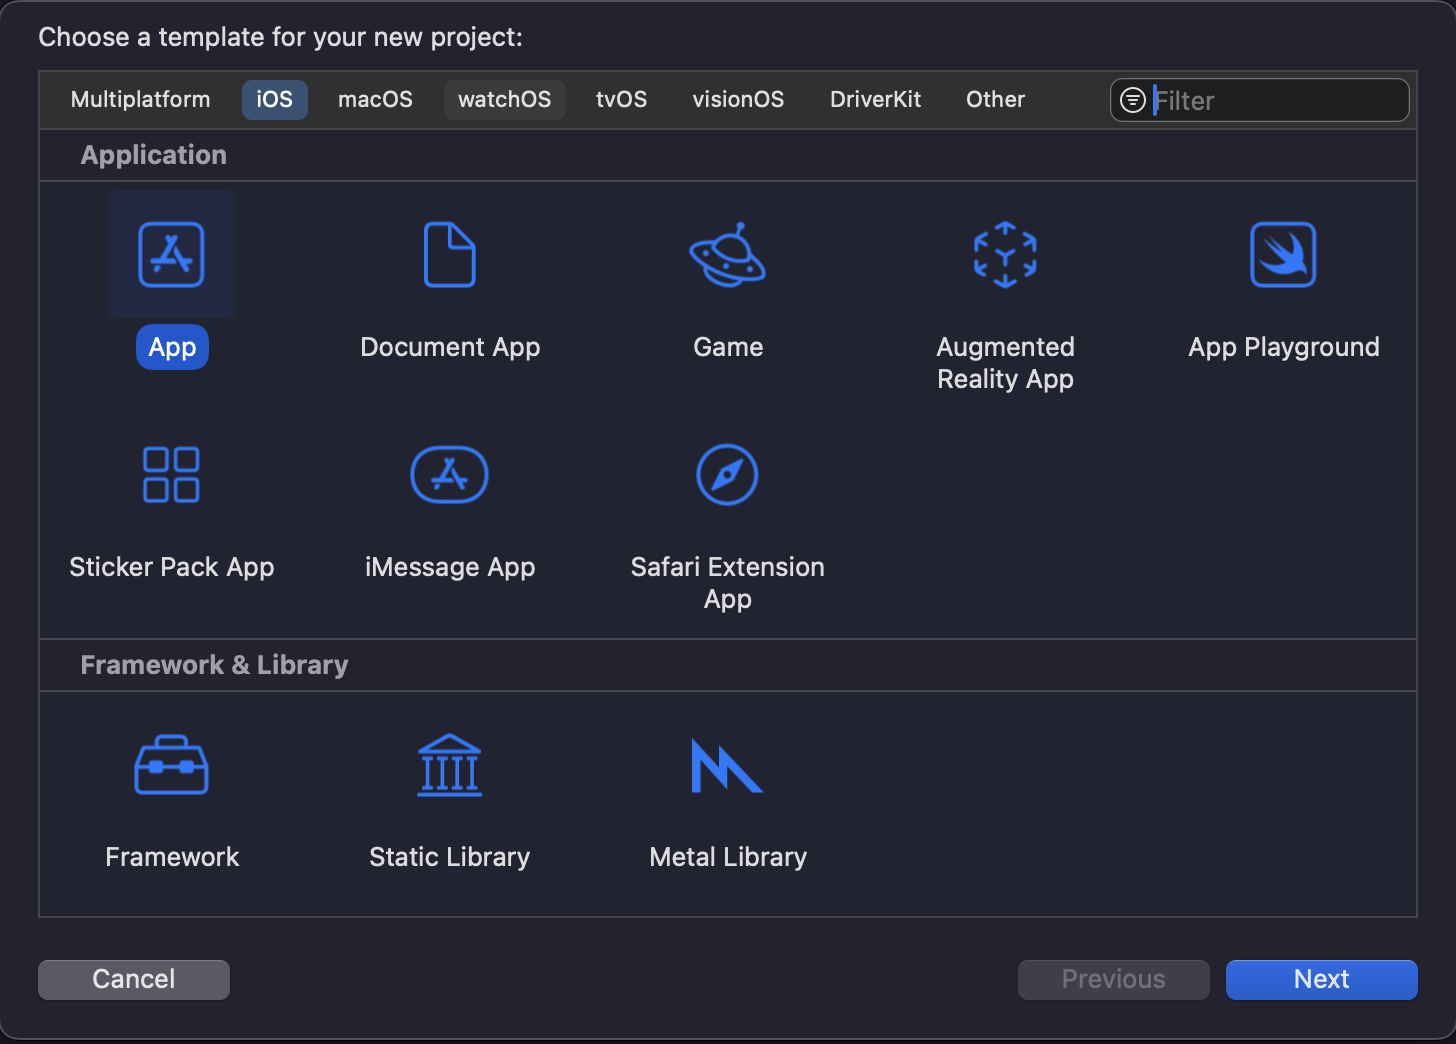
First let's make a new iOS app Xcode project. If you already have an app project you can skip this step. We'll do File -> New -> Project and create a iOS App. Make sure the language is Swift. We suggest putting this iOS project inside the rust project folder created above.
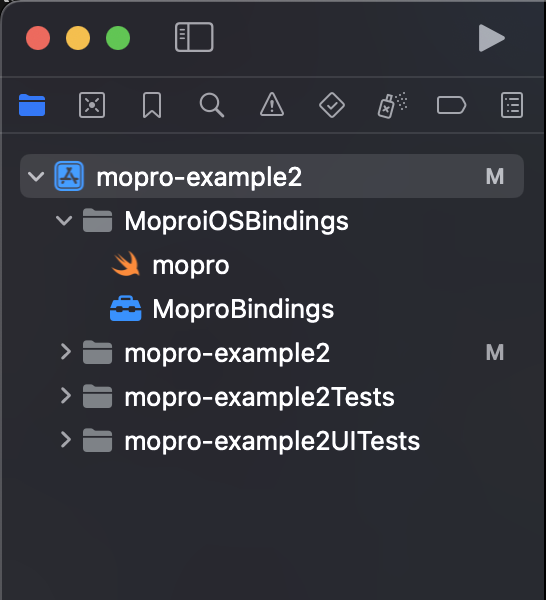
Your Xcode project should be open now. Open Finder and drag the MoproiOSBindings folder into the project folder structure.
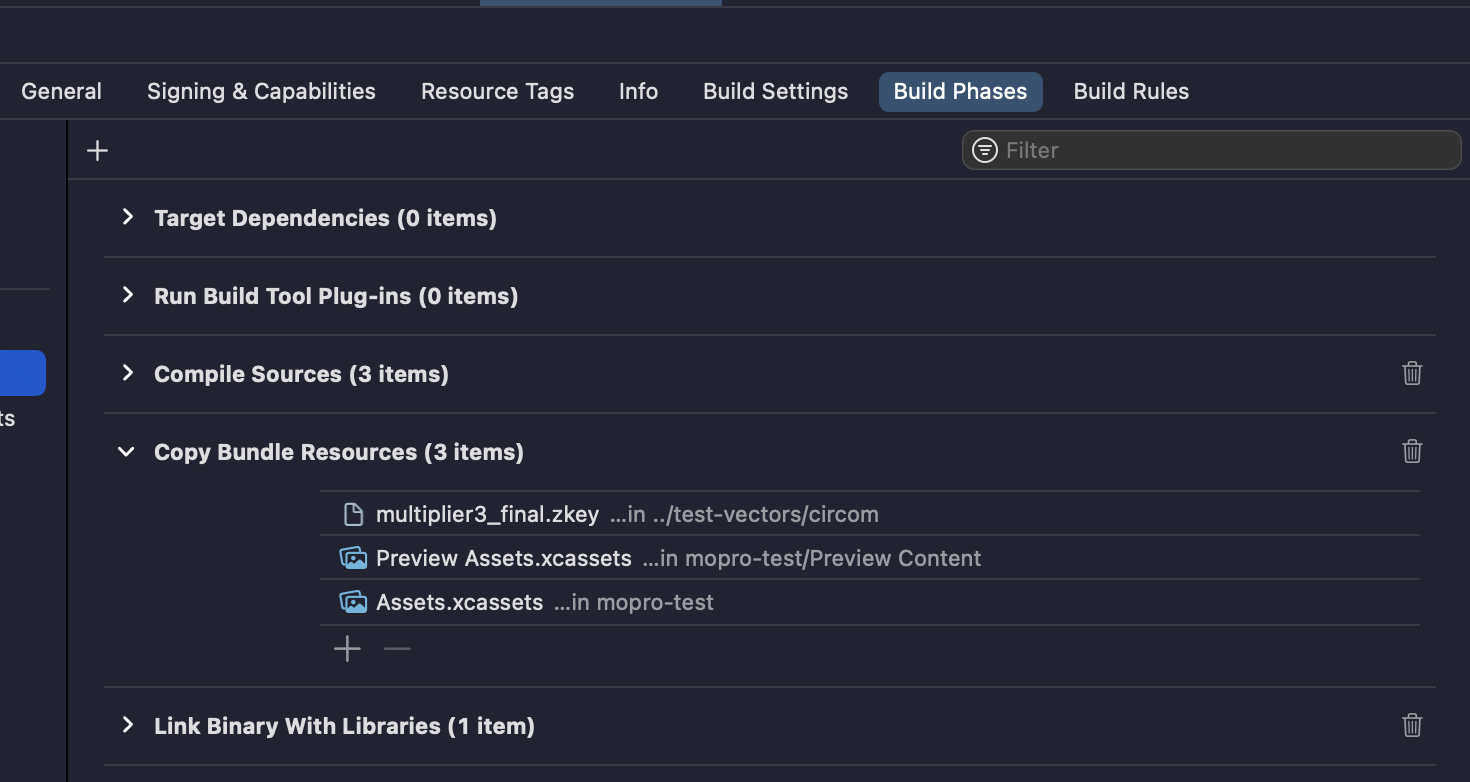
Next drag in any zkeys you plan to prove with. Go to the project "Build Phases" and add each zkey to the "Copy Bundle Resources" step.
Now you're ready to write the proving code in your app!
Proving from the app
In your project there should be a file named ContentView. At the top of this file add the following:
import moproFFI
This will make the proving functions generateCircomProof and verifyCircomProof available in this module.
In the ContentView itself add a private variable and a button like this:
struct ContentView: View {
    private let zkeyPath = Bundle.main.path(forResource: "multiplier2_final", ofType: "zkey")!

    var body: some View {
        VStack {
            Button("Prove", action: runProveAction)
        }
        .padding()
    }
}
We use the Bundle api to retrieve the full path to our zkey. Change multiplier2_final to the name of your zkey.
At the bottom of this file we'll add an extension with a function to generate a proof. In this example we're going to prove a simple circuit that accepts two inputs named a and b and generates an output c.
extension ContentView {
    func runProveAction() {
        // Prepare inputs
        //
        // The generateCircomProof function accepts an absolute path
        // to the zkey, and a map of strings to arrays of strings
        //
        // This is a mapping of input names to values. Note that if
        // the input is not an array, it will still be specified as
        // and array of length 1.
        var inputs = [String: [String]]()
        let a = 3 // First input
        let b = 5 // Second input
        inputs["a"] = [String(a)] // Numbers should be passed as strings
        inputs["b"] = [String(b)]

        // Begin timing our proof generation
        let start = CFAbsoluteTimeGetCurrent()

        // Call into the compiled static library
        do {
            let generateProofResult = try generateCircomProof(zkeyPath: zkeyPath, circuitInputs: inputs)
        } catch {
            print("Error generate a proof: \(error)")
        }

        let end = CFAbsoluteTimeGetCurrent()
        let timeTaken = end - start
        print("built proof in \(String(format: "%.3f", timeTaken))s")
    }
}
You should now be able to run the iOS app on the simulator or a device and build a proof. The app should log the time taken to generate the proof. For a more complete example including serialization and verification check here.