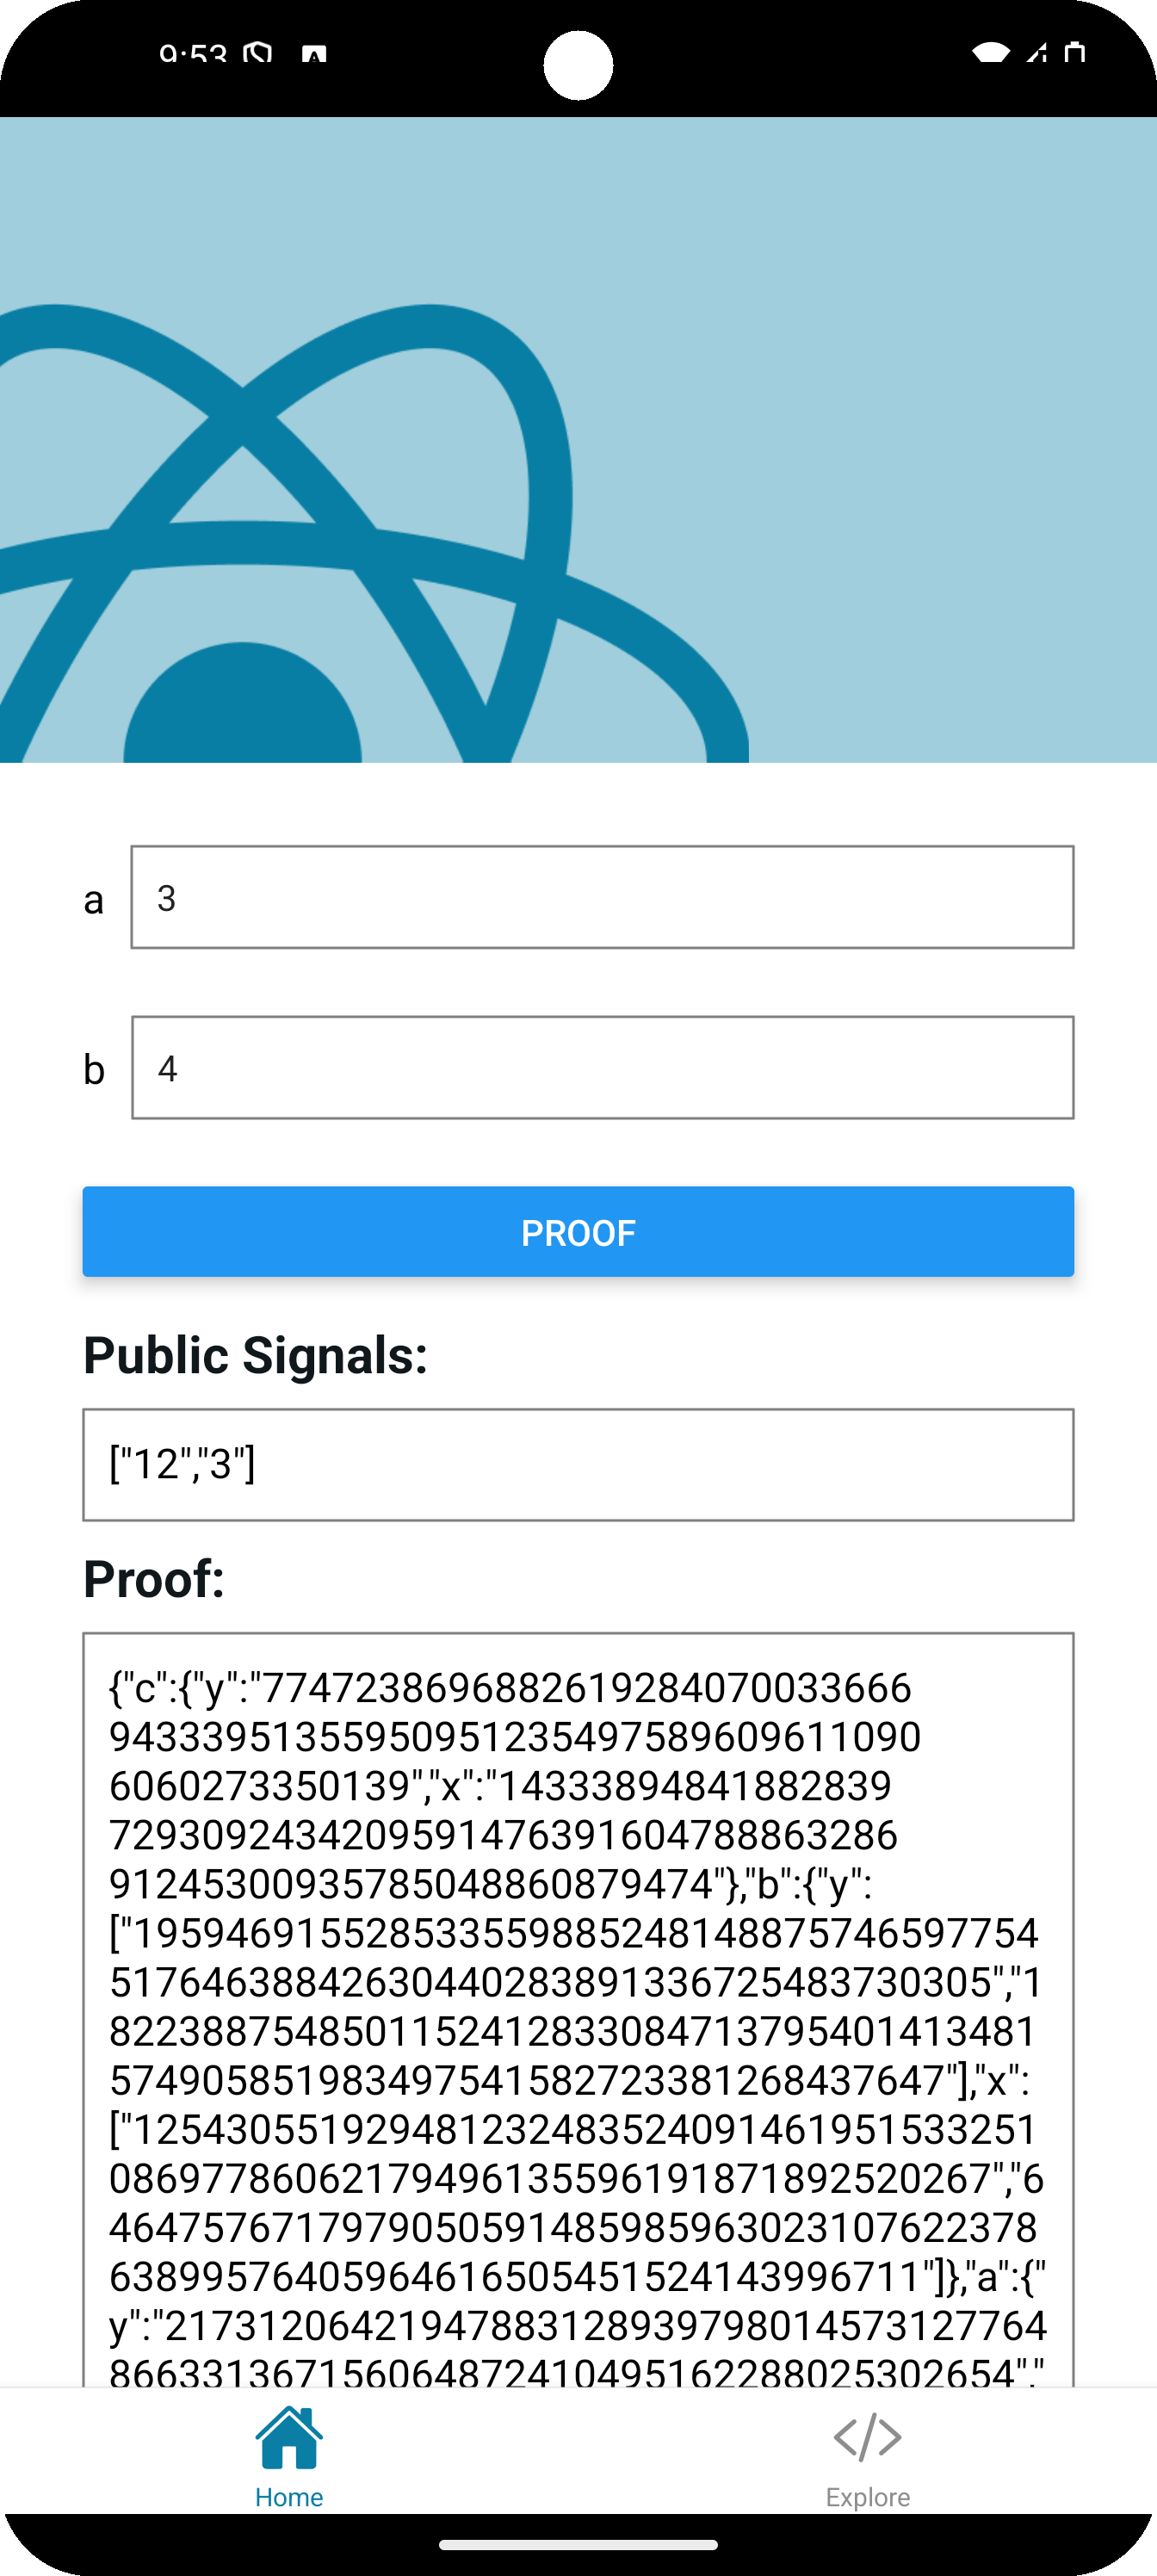
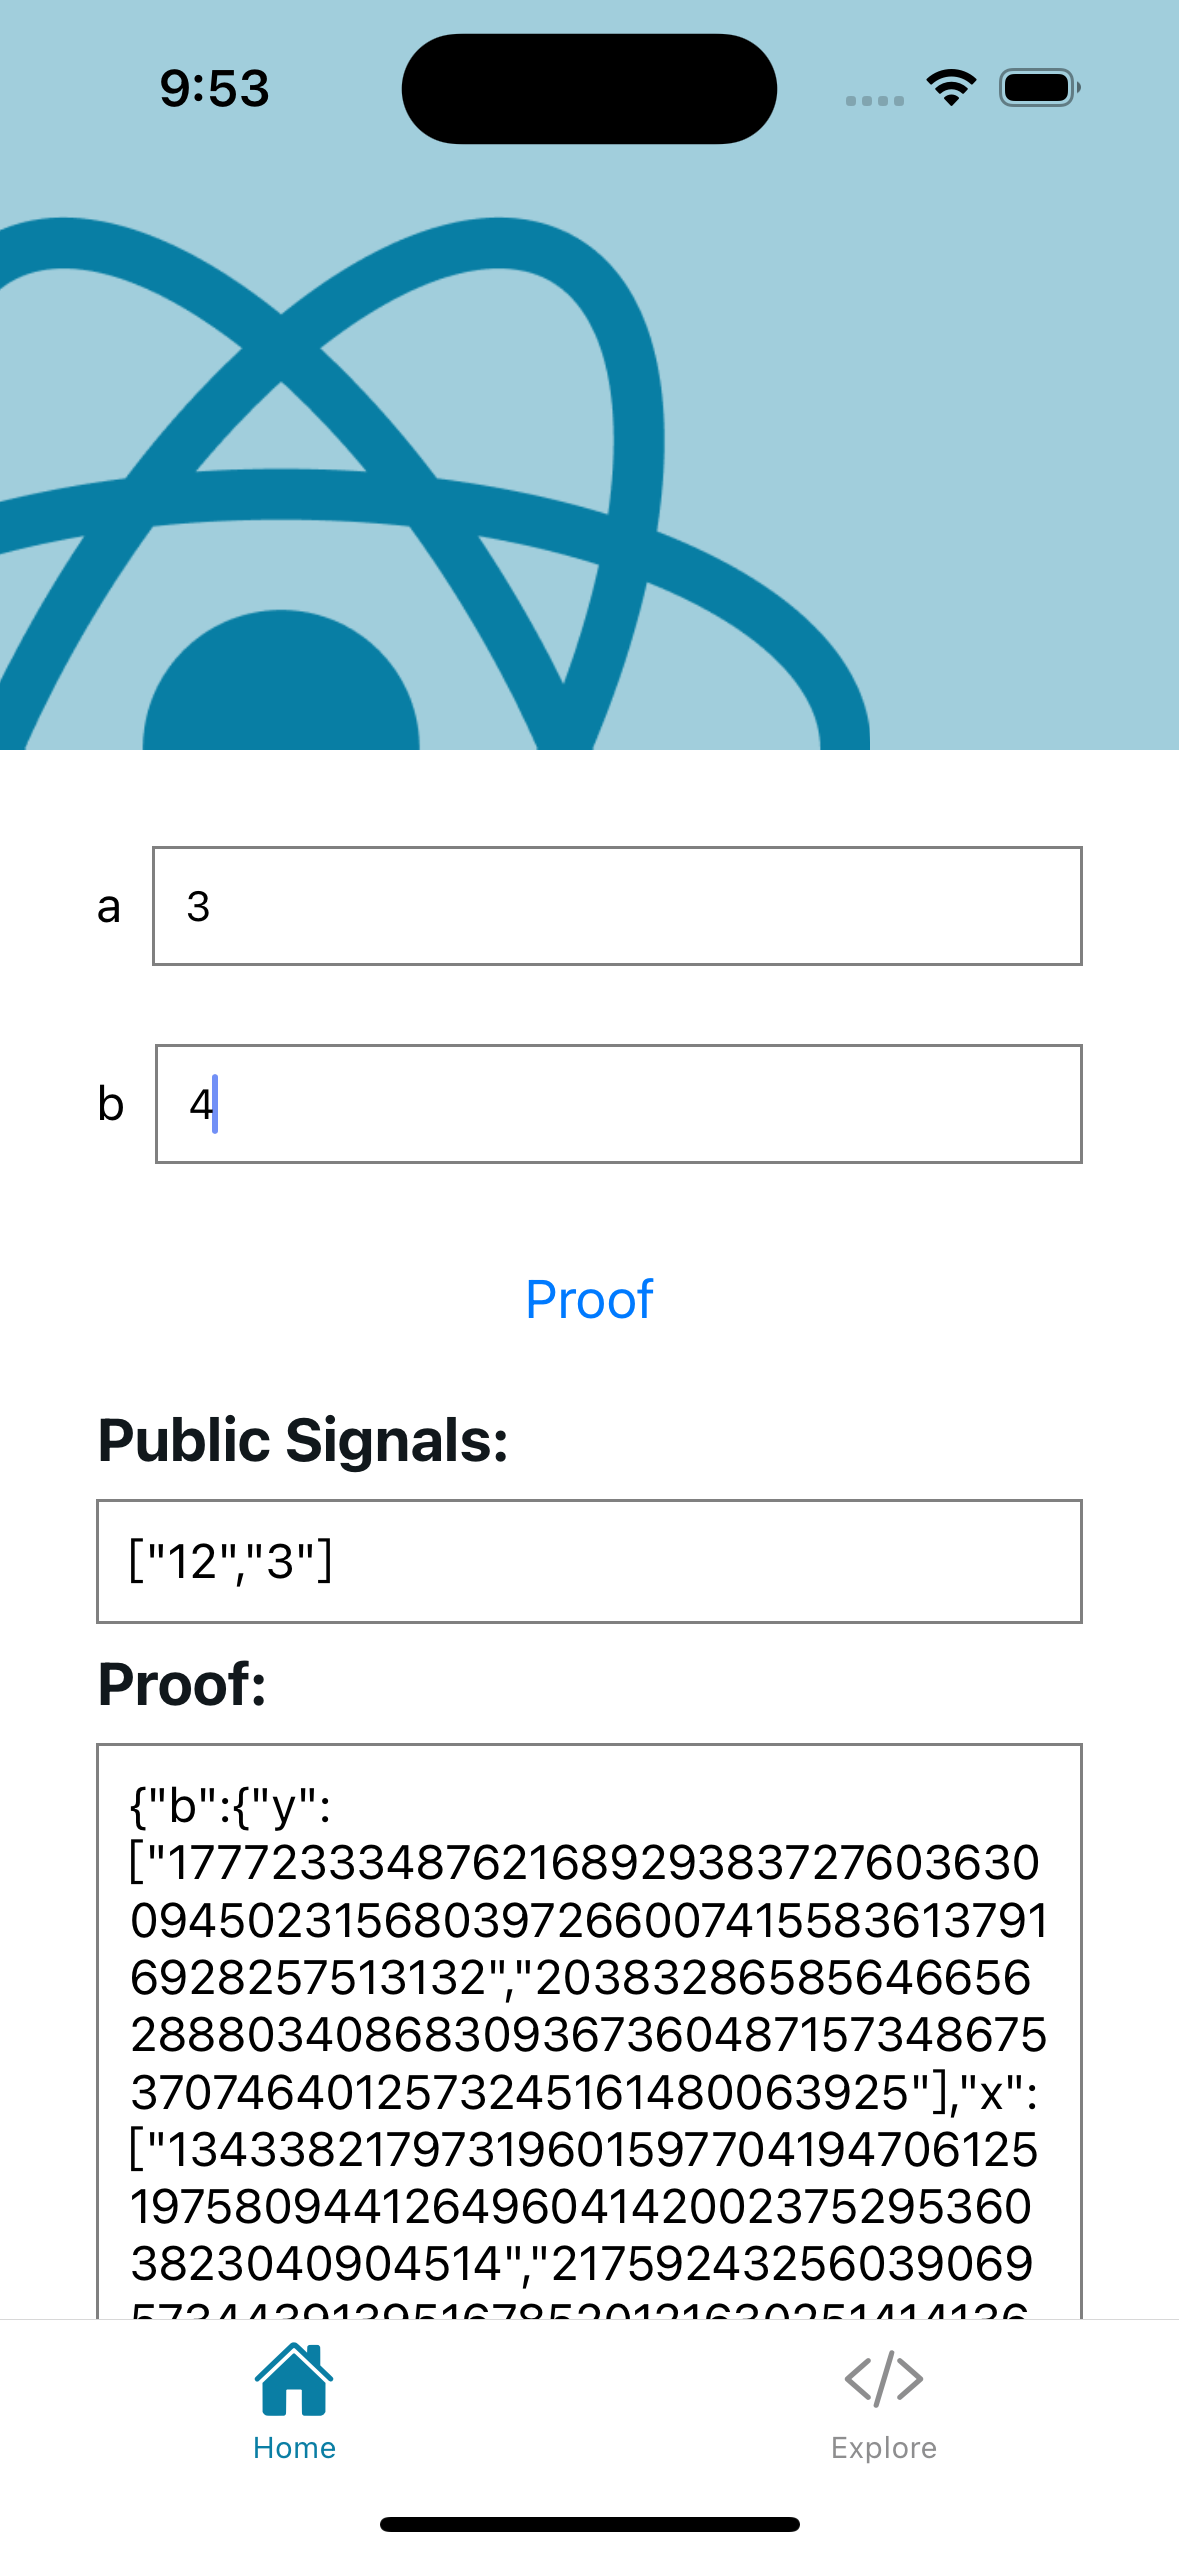
React Native Setup
Using "Getting Started - 3. Mopro build" guide, you can generate the "MoproAndroidBindings" and "MoproIOSBindings" for the iOS and android platforms in your project folder. These bindings allow you to create a cross-platform project using React Native.
React Native is a JavaScript framework that enables developers to build native apps for multiple platforms with a single codebase.
In this tutorial, you will learn how to create a native Mopro module on both Android and iOS simulators.


You have 3 options to get started with a mopro React Native project:
Option 1: Use Mopro Cli
The easiest way to set up your project is by using the mopro cli create command.
This command helps you quickly add templates, similar to the next option, but with fewer manual steps.
mopro-example-app $ mopro create
Assuming you’ve successfully built the iOS and android bindings: MoproAndroidBindings and MoproIOSBindings in your project folder, the mopro cli stored some parameters into the Config.toml file and reads them during the create command. It will also allow you to select the react-native template, as shown below:
? Create template ›
  ios
  android
  web          - Require binding
  flutter
❯ react-native
Option 2: Clone the Repository and Import the Bindings
This option is a more manual compared to Option 1. You can clone a pre-configured repository and manually import the generated bindings into your React Native project.
-
Clone the zkmopro/react-native-app repository
git clone https://github.com/zkmopro/react-native-app -
Install dependencies
npm install -
Run the app
npm run androidor
npm run ios
Option 3: Follow the Tutorial and Build a React Native Module
If you prefer a more hands-on approach and wish to understand how everything works, you can follow the tutorial to build a React Native module from scratch.
1. Initializing a New React Native Project or Using an Existing One
-
Getting started with React Native: Official documentation
infoThe Expo framework is recommended by the React Native community. (Last updated on Aug 15, 2024)
We will use the Expo framework throughout this documentation.
Ref: Start a new React Native project with Expo -
After creating a React Native project, you should be able to run with a commands like
npm run iosfor iOS simulators. And
npm run androidfor Android emulators.
2. Creating a Native Module
-
Creating a native module by the command
npx create-expo-module --local moproIt will create a native module named
moproin themodules/moprofolder.
3. Define an API
-
Define the types for the native module. Add the following types in the file:
/modules/mopro/index.ts// Define the G1 type
export type G1 = {
x: string;
y: string;
};
// Define the G2 type
export type G2 = {
x: string[];
y: string[];
};
// Define the ProofCalldata type
export type ProofCalldata = {
a: G1;
b: G2;
c: G1;
};
// Define the Result type
export type Result = {
proof: ProofCalldata;
inputs: string[];
}; -
Add the native module's API functions in the same file.
/modules/mopro/index.tsexport function generateCircomProof(
zkeyPath: string,
circuitInputs: { [key: string]: string[] }
): Result {
return MoproModule.generateCircomProof(zkeyPath, circuitInputs);
}
4. Implement the module on Android
4-1. Add dependency for jna in the file build.gradle.
dependencies {
  implementation("net.java.dev.jna:jna:5.13.0@aar")
}
4-2. Include Mopro bindings in the native Android module
- Get the
MoproAndroidBindingsfromcargo run --bin android.infoSee Rust Setup
- Move the
jniLibsdirectory tomodules/mopro/android/src/main/.
And moveuniffidirectory tomodules/mopro/android/src/main/java/.
The folder structure should be as follows:modules/mopro/android/src/main
├── AndroidManifest.xml
├── assets
├── java
│ ├── expo
│ │ └── modules
│ │ └── mopro
│ │ ├── MoproModule.kt
│ │ └── MoproView.kt
│ └── uniffi
│ └── mopro
│ └── mopro.kt
└── jniLibs
├── arm64-v8a
│ └── libuniffi_mopro.so
├── armeabi-v7a
│ └── libuniffi_mopro.so
├── x86
│ └── libuniffi_mopro.so
└── x86_64
└── libuniffi_mopro.so
4-3. Create convertible types for Javascript library with kotlin.
It is a better way to represent a JavaScript object with the native type safety.
- Create a new file called
MoproType.ktin the following folder:modules/mopro/android/src/main/java/expo/modules/mopro/
package expo.modules.mopro

import expo.modules.kotlin.records.Field
import expo.modules.kotlin.records.Record

class ExpoG1 : Record {
    @Field var x: String?

    @Field var y: String?

    constructor(_x: String, _y: String) {
        x = _x
        y = _y
    }
}

class ExpoG2 : Record {
    @Field var x: List<String>?

    @Field var y: List<String>?

    constructor(_x: List<String>, _y: List<String>) {
        x = _x
        y = _y
    }
}

class ExpoProof : Record {
    @Field var a: ExpoG1?

    @Field var b: ExpoG2?

    @Field var c: ExpoG1?

    constructor(_a: ExpoG1, _b: ExpoG2, _c: ExpoG1) {
        a = _a
        b = _b
        c = _c
    }
}

class Result : Record {
    @Field var proof: ExpoProof?

    @Field var inputs: List<String>?

    constructor(_proof: ExpoProof, _inputs: List<String>) {
        proof = _proof
        inputs = _inputs
    }
}
Ref: Records
4-4. Create native module implementation in MoproModule.kt
package expo.modules.mopro

import expo.modules.kotlin.modules.Module
import expo.modules.kotlin.modules.ModuleDefinition
import java.io.File
import uniffi.mopro.ProofCalldata
import uniffi.mopro.generateCircomProof
import uniffi.mopro.toEthereumInputs
import uniffi.mopro.toEthereumProof

fun convertType(proof: ProofCalldata): ExpoProof {
  var a = ExpoG1(proof.a.x, proof.a.y)
  var b = ExpoG2(proof.b.x, proof.b.y)
  var c = ExpoG1(proof.c.x, proof.c.y)
  var output = ExpoProof(a, b, c)
  return output
}

fun generateProof(zkeyPath: String, circuitInputs: Map<String, List<String>>): Result {
  val file = File(zkeyPath)
  val res = generateCircomProof(file.absolutePath, circuitInputs)
  val proof = toEthereumProof(res.proof)
  val inputs = toEthereumInputs(res.inputs)
  val result = Result(convertType(proof), inputs)
  return result
}

class MoproModule : Module() {
  // Each module class must implement the definition function. The definition consists of components
  // that describes the module's functionality and behavior.
  // See https://docs.expo.dev/modules/module-api for more details about available components.
  override fun definition() = ModuleDefinition {
    // Sets the name of the module that JavaScript code will use to refer to the module. Takes a
    // string as an argument.
    // Can be inferred from module's class name, but it's recommended to set it explicitly for
    // clarity.
    // The module will be accessible from `requireNativeModule('Mopro')` in JavaScript.
    Name("Mopro")

    Function("generateCircomProof") { zkeyPath: String, circuitInputs: Map<String, List<String>> ->
      generateProof(zkeyPath, circuitInputs)
    }

    View(MoproView::class) {
      // Defines a setter for the `name` prop.
      Prop("name") { view: MoproView, prop: String -> println(prop) }
    }
  }
}
5. Implement the module on iOS
5.1 Use a framework
-
Get the
MoproiOSBindingsfromcargo run --bin ios.infoSee Rust Setup
-
Copy the
MoproiOSBindingsdirectory tomodules/mopro/ios -
Bundle the bindings in
Mopro.podspec/modules/mopro/ios/Mopro.podspec...
s.dependency 'ExpoModulesCore'
s.vendored_frameworks = 'MoproiOSBindings/MoproBindings.xcframework'
...
5.2 Create convertible types for Javascript library with swift.
-
Create a new file called
MoproType.swiftin the following folder:modules/mopro/ios/modules/mopro/ios/MoproType.swiftimport ExpoModulesCore
struct ExpoG1: Record {
@Field
var x: String?
@Field
var y: String?
}
struct ExpoG2: Record {
@Field
var x: [String]?
@Field
var y: [String]?
}
struct ExpoProof: Record {
@Field
var a: ExpoG1?
@Field
var b: ExpoG2?
@Field
var c: ExpoG1?
}
struct Result: Record {
@Field
var inputs: [String]?
@Field
var proof: ExpoProof?
}
5-3. Create native module implementation in MoproModule.swift
import ExpoModulesCore
import moproFFI

func convertType(proof: ProofCalldata) -> ExpoProof {
  var a = ExpoG1()
  a.x = proof.a.x
  a.y = proof.a.y

  var b = ExpoG2()
  b.x = proof.b.x
  b.y = proof.b.y

  var c = ExpoG1()
  c.x = proof.c.x
  c.y = proof.c.y

  var expoProof = ExpoProof()
  expoProof.a = a
  expoProof.b = b
  expoProof.c = c
  return expoProof
}

func generateProof(zkeyPath: String, circuitInputs: [String: [String]]) -> Result {
  do {
    let res = try generateCircomProof(zkeyPath: zkeyPath, circuitInputs: circuitInputs)
    let proof = toEthereumProof(proof: res.proof)
    let result = Result()
    result.inputs = toEthereumInputs(inputs: res.inputs)
    result.proof = convertType(proof: proof)
    return result
  } catch {
    print("Error: \(error)")
    let result = Result()
    return result
  }
}

public class MoproModule: Module {
  // Each module class must implement the definition function. The definition consists of components
  // that describes the module's functionality and behavior.
  // See https://docs.expo.dev/modules/module-api for more details about available components.
  public func definition() -> ModuleDefinition {
    // Sets the name of the module that JavaScript code will use to refer to the module. Takes a string as an argument.
    // Can be inferred from module's class name, but it's recommended to set it explicitly for clarity.
    // The module will be accessible from `requireNativeModule('Mopro')` in JavaScript.
    Name("Mopro")

    Function("generateCircomProof") {
      (zkeyPath: String, circuitInputs: [String: [String]]) -> Result in

      // Call into the compiled static library
      return generateProof(zkeyPath: zkeyPath, circuitInputs: circuitInputs)
    }

    // Enables the module to be used as a native view. Definition components that are accepted as part of the
    // view definition: Prop, Events.
    View(MoproView.self) {
      // Defines a setter for the `name` prop.
      Prop("name") { (view: MoproView, prop: String) in
        print(prop)
      }
    }
  }
}
6. Run the app
6.1 Install expo-asset
Install expo-asset to use assets.
npx expo install expo-asset
6.2 Check the expo command
The android and ios script should be as follows:
{
    ...
    "scripts": {
        ...
        "android": "expo run:android",
        "ios": "expo run:ios",
        ...
    }
    ...
}
6.3 Create an example view
This view enables users to generate multiplier2 proofs and the public signals.
import { Image, StyleSheet, Button, TextInput, View, Text } from "react-native";

import ParallaxScrollView from "@/components/ParallaxScrollView";
import { ThemedText } from "@/components/ThemedText";
import { ThemedView } from "@/components/ThemedView";
import { generateCircomProof, Result } from "@/modules/mopro";
import * as FileSystem from "expo-file-system";
import { useState } from "react";
import { Asset } from "expo-asset";

export default function HomeScreen() {
    const [a, setA] = useState("");
    const [b, setB] = useState("");
    const [inputs, setInputs] = useState<string>("");
    const [proof, setProof] = useState<string>("");
    async function genProof(): Promise<void> {
        const asset = Asset.fromURI(
            "https://ci-keys.zkmopro.org/multiplier2_final.zkey"
        );
        const newFileName = "multiplier2_final.zkey";
        const newFilePath = `${FileSystem.documentDirectory}${newFileName}`;
        const fileInfo = await FileSystem.getInfoAsync(newFilePath);
        if (!fileInfo.exists) {
            try {
                const file = await asset.downloadAsync();
                if (file.localUri === null) {
                    throw new Error("Failed to download the file");
                }
                await FileSystem.moveAsync({
                    from: file.localUri,
                    to: newFilePath,
                });
            } catch (error) {
                console.error("Error renaming the file:", error);
            }
        }
        const circuitInputs = {
            a: [a],
            b: [b],
        };
        const res: Result = generateCircomProof(
            newFilePath.replace("file://", ""),
            circuitInputs
        );
        setProof(JSON.stringify(res.proof));
        setInputs(JSON.stringify(res.inputs));
    }
    return (
        <ParallaxScrollView
            headerBackgroundColor={{ light: "#A1CEDC", dark: "#1D3D47" }}
            headerImage={
                <Image
                    source={require("@/assets/images/partial-react-logo.png")}
                    style={styles.reactLogo}
                />
            }
        >
            <View style={styles.inputContainer}>
                <Text style={styles.label}>a</Text>
                <TextInput
                    style={styles.input}
                    placeholder="Enter value for a"
                    value={a}
                    onChangeText={setA}
                    keyboardType="numeric"
                />
            </View>
            <View style={styles.inputContainer}>
                <Text style={styles.label}>b</Text>
                <TextInput
                    style={styles.input}
                    placeholder="Enter value for b"
                    value={b}
                    onChangeText={setB}
                    keyboardType="numeric"
                />
            </View>
            <Button title="Proof" onPress={() => genProof()} />
            <ThemedView style={styles.stepContainer}>
                <ThemedText type="subtitle">Public Signals:</ThemedText>
                <Text style={styles.output}>{inputs}</Text>
                <ThemedText type="subtitle">Proof:</ThemedText>
                <Text style={styles.output}>{proof}</Text>
            </ThemedView>
        </ParallaxScrollView>
    );
}

const styles = StyleSheet.create({
    stepContainer: {
        gap: 8,
        marginBottom: 8,
    },
    input: {
        height: 40,
        borderColor: "gray",
        borderWidth: 1,
        flex: 1,
        paddingHorizontal: 10,
    },
    inputContainer: {
        flexDirection: "row",
        alignItems: "center",
        marginBottom: 10,
    },
    label: {
        fontSize: 16,
        marginRight: 10,
    },
    reactLogo: {
        height: 178,
        width: 290,
        bottom: 0,
        left: 0,
        position: "absolute",
    },
    output: {
        fontSize: 16,
        borderColor: "gray",
        borderWidth: 1,
        padding: 10,
    },
});
6.4 Run in simulators
- Android
npm run android
Trouble Shooting: If it shows
FAILURE: Build failed with an exception.

* What went wrong:
Could not determine the dependencies of task ':app:compileDebugJavaWithJavac'.
> SDK location not found. Define a valid SDK location with an ANDROID_HOME environment variable or by setting the sdk.dir path in your project's local properties file at '.../android/local.properties'.
Add the ANDROID_HOME environment variable by following the prerequisites.
- iOS
npm run ios