React Native Setup
This tutorial will guide you through integrating the iOS bindings and Android bindings into an React Native) project. Before you begin, make sure you’ve completed the "Getting Started - 3. Mopro build" process with selecting react native platform and have the MoproReactNativeBindings folder ready:
React Native is a JavaScript framework that enables developers to build native apps for multiple platforms with a single codebase.
In this tutorial, you will learn how to create a native Mopro module on both Android and iOS simulators/devices.
In this example, we use Circom circuits and their corresponding .zkey files. The process is similar for other provers.
0. Initialize an React Native project
First let's create a new React Native project. If you already have a React Native project you can skip this step.
-
Getting started with React Native: Official documentation For example,
npx @react-native-community/cli@latest init TurboModuleExample --version 0.82infoA Turbo Module is required for React Native bindings. It enables communication with native platform APIs that are not available through React Native’s core modules or third-party libraries.
-
After creating a React Native project, you should be able to run with a commands like within the projects
npm run startto starg a server.
npm run iosfor iOS simulators. And
npm run androidfor Android emulators.
1. Copy React Native Module
-
Copy the exported
MoproReactNativeBindingsfolder into the project directory you created with the CLI. After doing so, your project structure should look like this:.
├── __tests__
├── android
├── app.json
├── App.tsx
├── ios
├── MoproReactNativeBindings
├── package.json
...
2. Configure the React Native project
Please refer to react-native-app to see the latest update.
2-1 Install dependencies
-
Install
react-native-monorepo-configpackagenpm add react-native-monorepo-config
2-2 Add workspace for the binding
- In your root
package.json, add a"workspaces"field like this:package.json{
...
"private": true,
"workspaces": [
"MoproReactNativeBindings"
]
...
}
2-3 Add react-native.config.js
- Add a
react-native.config.jsfile in the root. Please refer to the latestreact-native.config.js
2-4 Update metro.config.js
- Update
metro.config.jsin the root. Please refer to the latestmetro.config.js
2-5 Update index.js
-
Update
index.jsin the root to initialize UniFFI settings. For example,index.jsimport { AppRegistry } from "react-native";
import App from "./App";
import { name as appName } from "./app.json";
import { uniffiInitAsync } from "mopro-ffi"; // name of the bindings
uniffiInitAsync().then(() => {
AppRegistry.registerComponent(appName, () => App);
});
3. Run the app
Please refer to react-native-app to see the latest update.
3-1. Install the dependencies
Install react-native-fs to use the assets (proving keys).
npm add react-native-fs
And make sure you run
npm install
and
cd ios && pod install && cd ..
for iOS.
3-2. Check the script
The android and ios scripts should be defined as follows to support running with the mobile native modules:
{
    ...
    "scripts": {
        ...
        "assets": "npx react-native-asset",
        "prebuild": "npm run assets && cd ios && pod install && cd ..",
        "ios": "npm run prebuild && react-native run-ios",
        "android": "npm run assets && react-native run-android",
        ...
    }
    ...
}
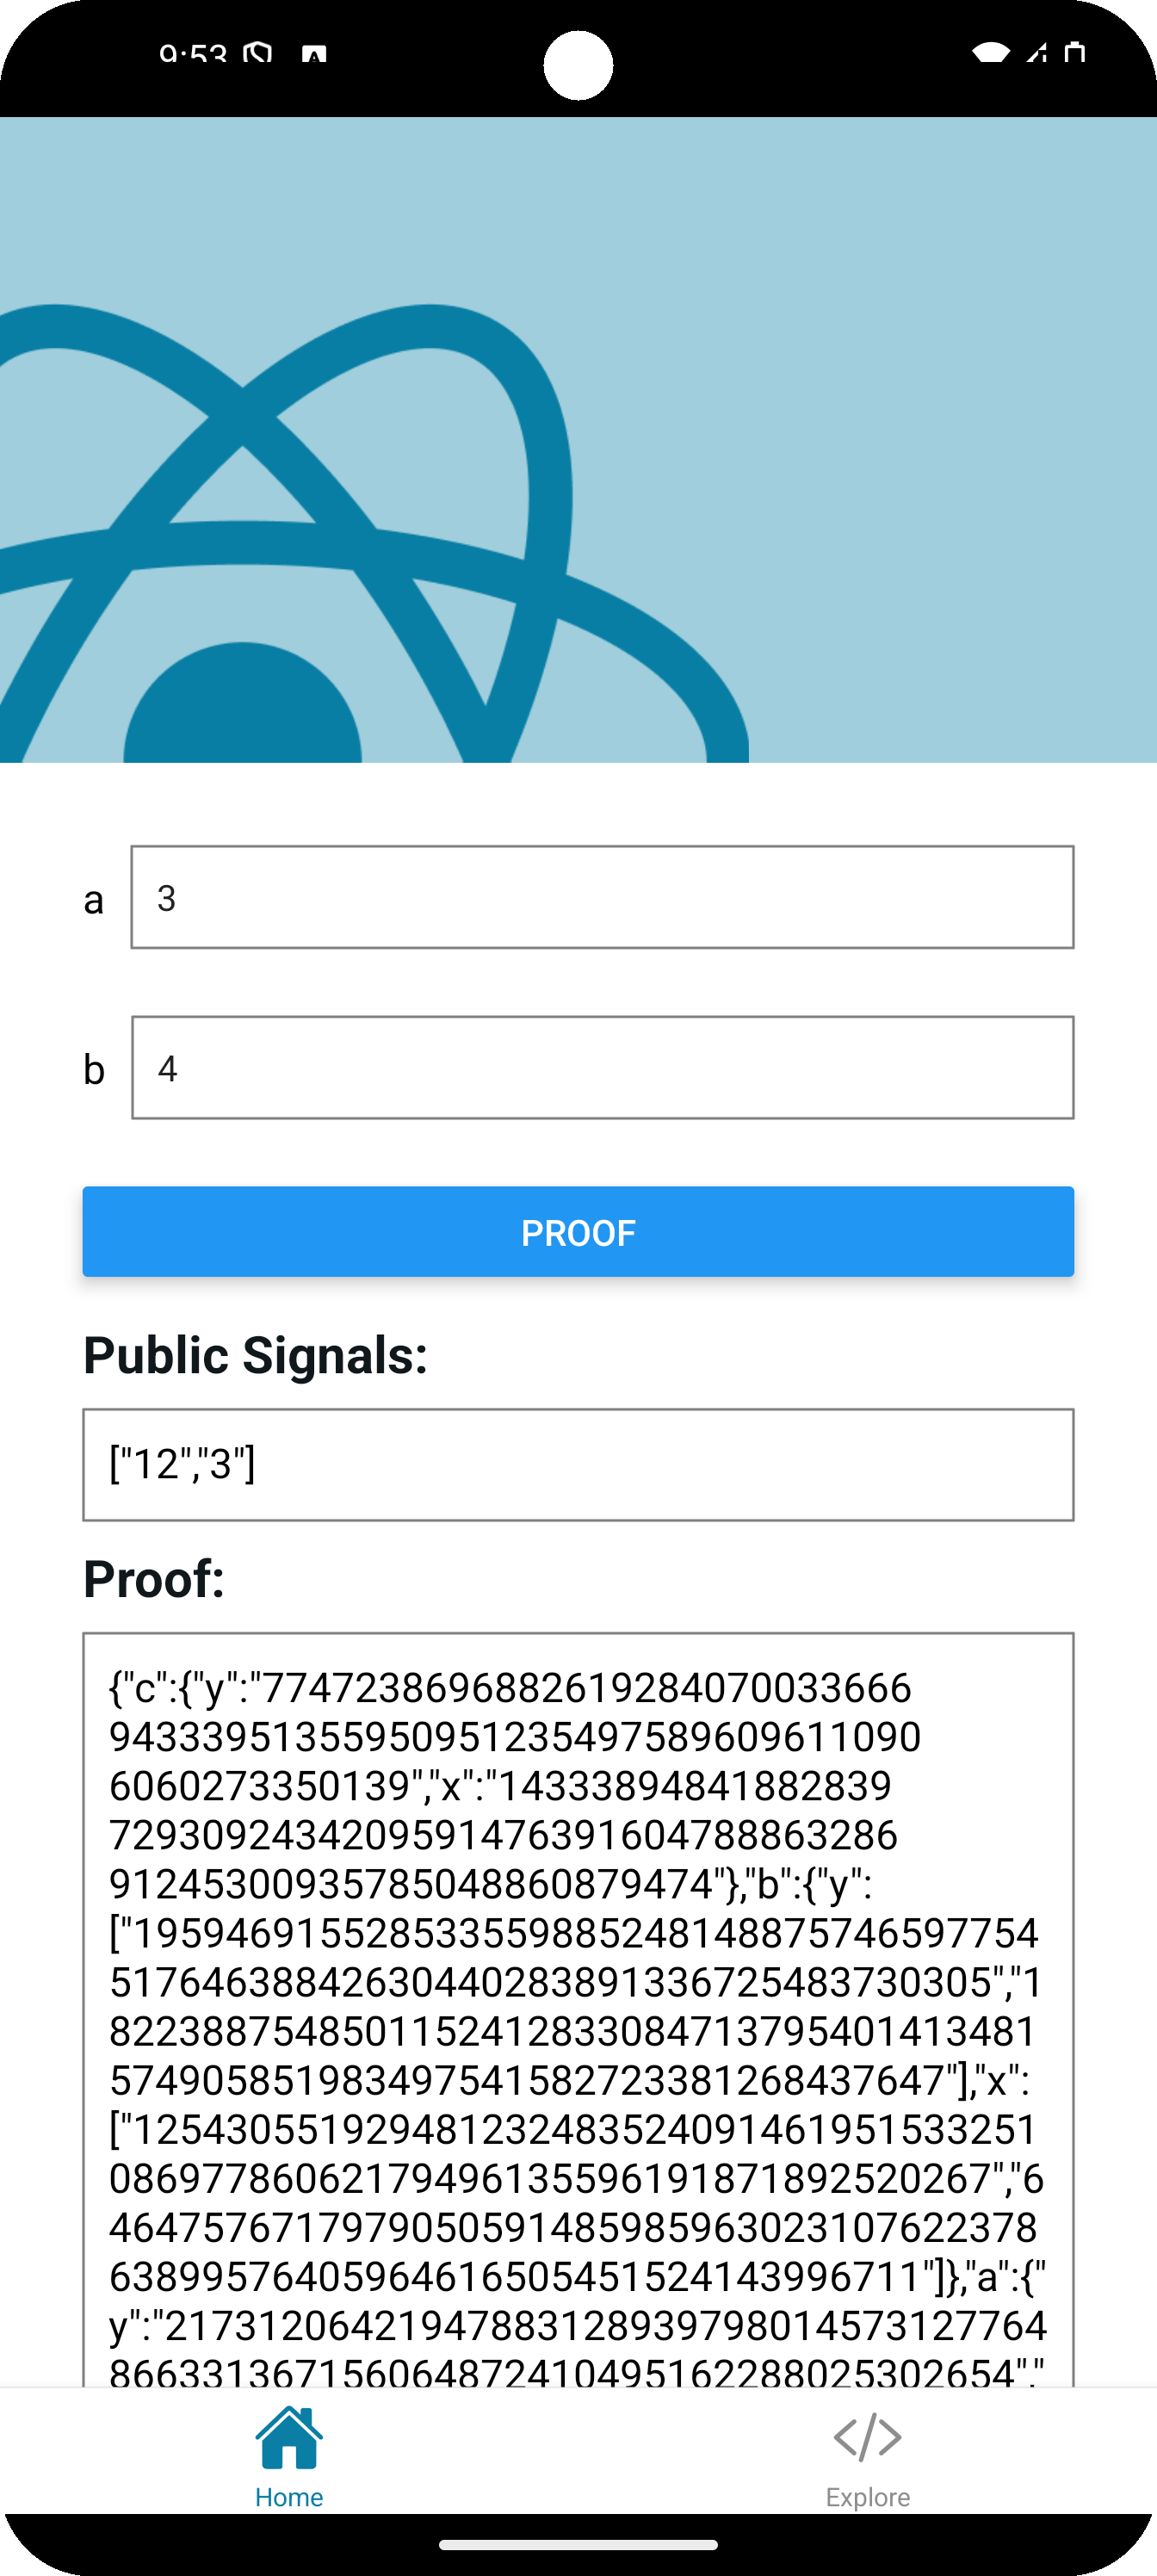
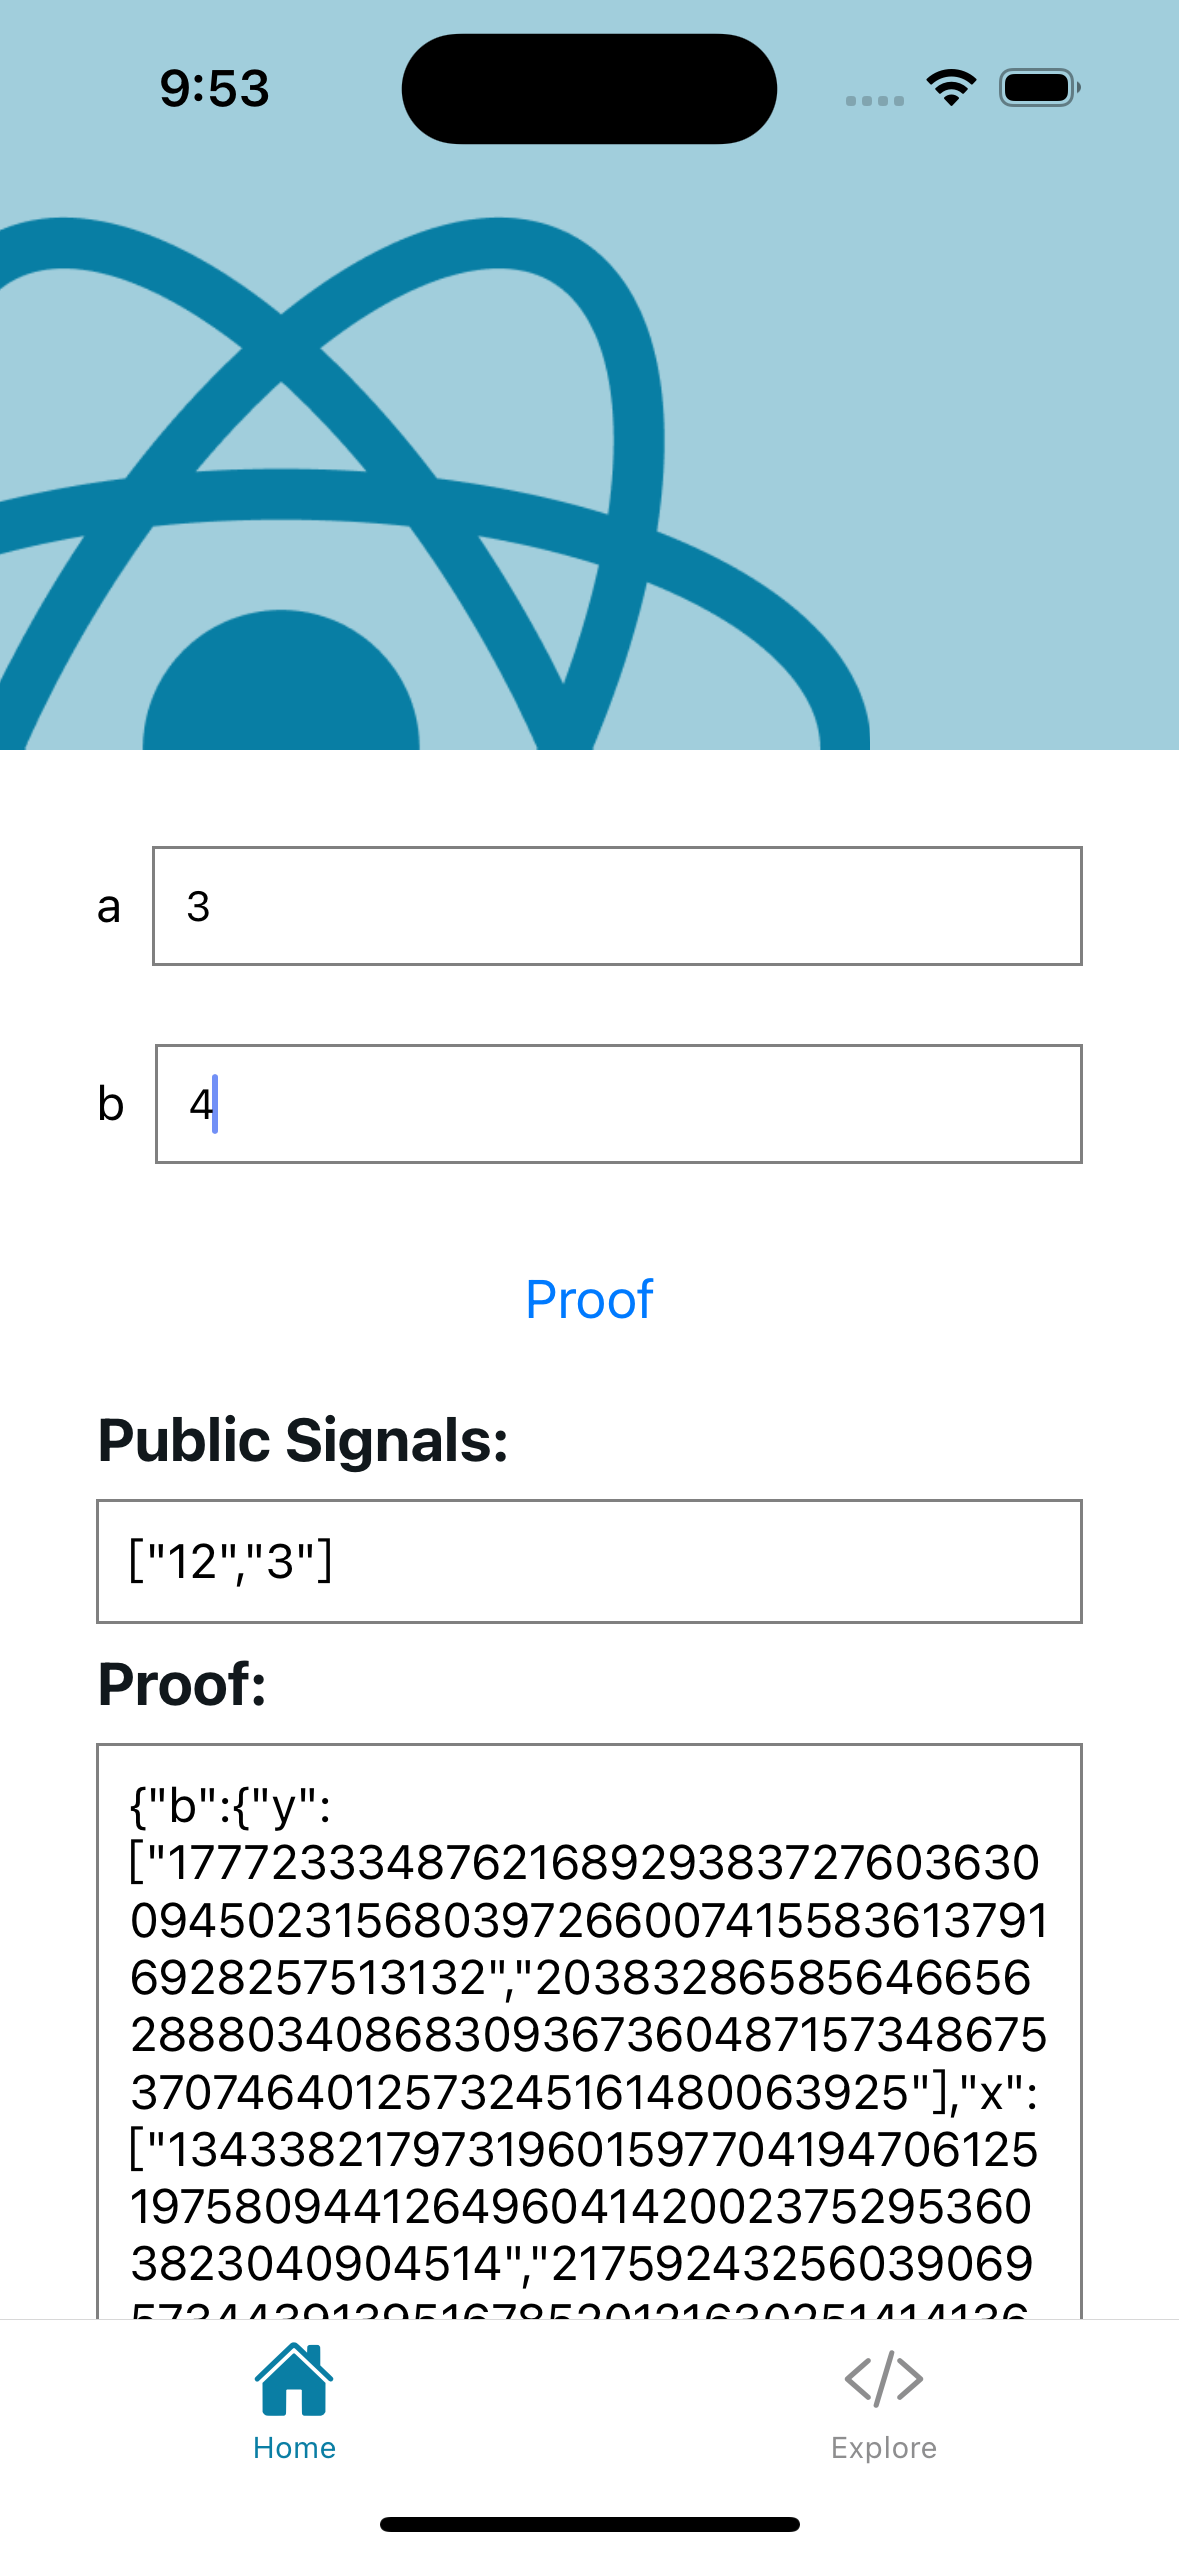
3.3 Generate proofs in the app
Here is an example demonstrating how to generate a proof within an app:
import {
    generateCircomProof,
    verifyCircomProof,
    CircomProofResult,
    ProofLib,
} from "mopro-ffi";

const circuitInputs = {
    a: ["3"],
    b: ["5"],
};
const result: CircomProofResult = generateCircomProof(
    zkeyPath.replace("file://", ""),
    JSON.stringify(circuitInputs),
    ProofLib.Arkworks
);
const valid: boolean = verifyCircomProof(
    zkeyPath.replace("file://", ""),
    result,
    ProofLib.Arkworks
);
To load zkey from assets, you can refer to the script: loadAssets()
Please refer to react-native-app to see the latest update.
3.4 Run in simulators
-
Start a react native server
npm run start -
Android
Export
ANDROID_HOMEexport ANDROID_HOME="~/Library/Android/sdk"Then run
npm run android -
iOS
npm run iosTo run the app on a real iOS device, open the Xcode workspace:
open ios/MyTestLibraryExample.xcworkspaceThen, in Xcode, select your project in the sidebar, go to Signing & Capabilities → Signing, and choose your Apple account (team) under Team.
4. What's next
-
Update your ZK circuits as needed. After making changes, be sure to run:
mopro build
mopro updatewarningThis ensures the bindings are regenerated and reflect your latest updates.
-
Build your mobile app frontend according to your business logic and user flow.
-
Expose additional Rust functionality: If a function is missing in Swift, Kotlin, React Native, or Flutter, you can:
- Add the required Rust crate in
Cargo.toml - Annotate your function with
#[uniffi::export](See the Rust setup guide for details).
Once exported, the function will be available across all supported platforms.
- Add the required Rust crate in